People attach suppressor to their firearms to reduce the amount of noise coming from gunshots. But people usually install such devices on barrels that are already threaded by manufacturers when purchased. So how do people manage to do this on non-threaded barrels?
You can find non-threaded suppressor meant for non-threaded barrels. And you can even have your non-threaded barrel threaded by any shop that works on firearms. But of course, that will cost you some money. Why not learn some clever ways on how to attach a suppressor compatible handguard to a non-threaded barrel instead?
Steps to Attach a Suppressor to a Non-Threaded Barrel
There are a few differences between a threaded barrel and a non-threaded barrel. Threaded barrels have screw threads on the outer body near the barrel’s tip. This helps support attachments of muzzle devices like suppressors.
And non-threaded barrels are just bare barrels without those threads. This makes it hard to attach muzzle devices. Now we’ll get to know some steps on how to add a 30 caliber suppressor to a barrel that’s non-threaded:
Quick check: you may like this guide of multi cal suppressor. Read the full review to know more and buy now.
Step 1: Preparing Workstation
The first thing you need is to have an open and clean workspace area when you’re doing this. It doesn’t matter where it is. Whether it’s the floor or table, you have to clear it out. Don’t forget to wash your hands before you begin your work. Or you can try putting on gloves.
Step 2: Unloading
After your workspace is prepared, place your gun on your workspace. You can now begin by taking out the magazine of your gun and take out the bullets. Check the chamber to make sure it’s empty. After you’ve successfully unloaded your gun, set the bullets aside away from your workspace.
Step 3: Disassembling
You can follow a manual online for instructions to disassembling your gun. Also, you need the right tools to manage disassembling firearms. And to get to the barrel, you obviously don’t need to disassemble each part of the gun. You need a gun vise so that you can secure your firearm in that vise.
This way, you won’t need to hold the gun the whole time. When you’re putting it on the vise, make sure the muzzle is at least open for you to access.
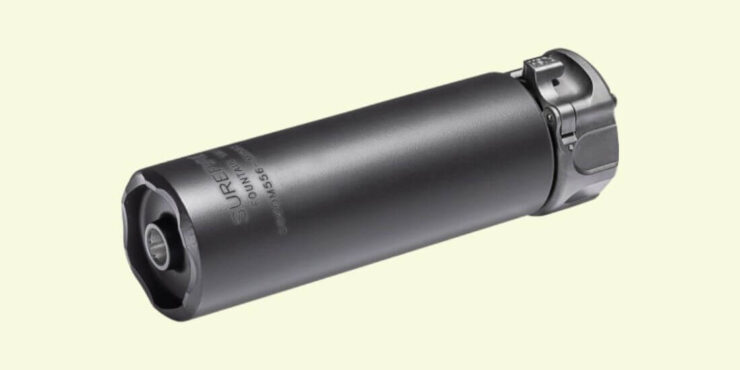
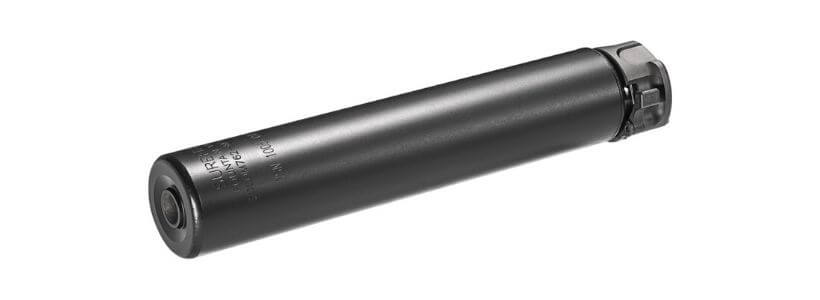
Step 4: Attaching the Suppressor
Given that your barrel is non-threaded, you need something to lock the suppressor in place and not slide off the muzzle. Some people use adapters for their non-threaded barrels. Other people like to use locking pins, taper pins, barrel bushing, etc. to help secure their suppressors.
It depends on what you use. But if you’re using an adapter, you need to disassemble your firearm till you reach your barrel. After taking the slider and spring parts out, you’ll see your barrel right there.
Take your adapter, tighten it around the barrel and screw it on. This additional part will help support your suppressor to make it stay in place.
After that, apply some metal bonding agent to the outside of the muzzle. You can now attach your suppressor and twist it till it tightens around the muzzle. And you need to let this sit for at least 24 hours before you can use your firearm.
Final Words
Most people waste money on buying a new gun that will have a threaded barrel. It’s also possible to thread any barrel, so people also send them over to shops for professionals to thread their gun’s barrel.
But instead, you can learn how to attach a suppressor to a non-threaded barrel and avoid that extra cost. You just need to put in a little effort and work with the current equipment you have. Hopefully, you can attach your suppressor properly to your gun with a non-threaded barrel.