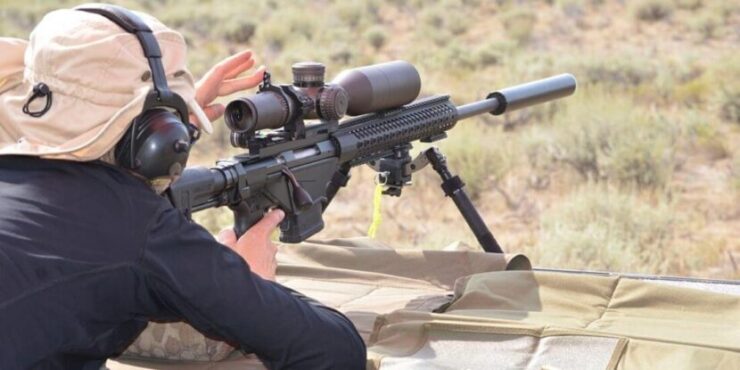
MOA stands for “Minute of Angle” MOA Scope and the word “Minute” refers to accuracy. It doesn’t refer to the time it takes for one shot to be taken. That’s just what most newcomers assume when they first hear the word.
A minute is an extremely small measurement in angles. Each minute makes a significant change to each shot’s accuracy. This helps out a lot during shots that are taken from a long-distance range, like during competitions or hunting.
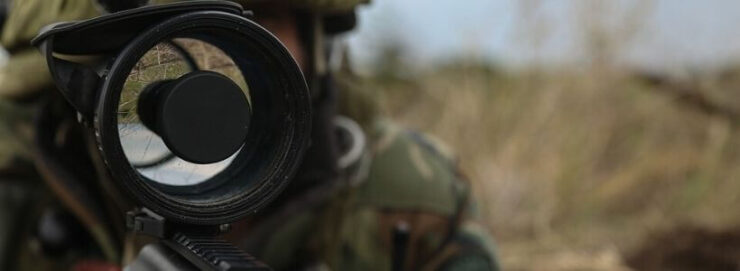
And now MOAs on scopes have been made for these kinds of shootings. If you have one, you’ll need to learn how to use an MOA scope since they’re different than the regular features on scopes. And that’s what we’re here to teach.
Steps to Using an MOA Scope
Minutes are related to a rifle’s and scope’s accuracy. The minute is only a small measurement of an angle. And angles are measured in degrees.
Some examples of angle measurements would be, 90 degrees which means a right angle, 180 degrees means a straight line, 360 degrees means a whole orbit revolution from a certain spot, and so on.
Now we will try to understand a bit more about Minutes of Angle so that we can know how to use them on our MOA scope:
Step 1: Angle of a Minute
The larger the number in the measurement, the wider the angle is. And in a minute, each degree is separated into 60 subunits. These subunits themselves are known as minutes.
Each degree is divided into 60 units, just like how an hour is divided into 60 minutes when referring to time. So basically, each minute measures to about 1/60th of a degree.
Step 2: Width of a Minute
We know angles do not have width since they are just two lines with no complete body to measure width on. But you can still measure the distance between the two lines that have been drawn at an angle. This way, you can figure out the distance.
Angles might not have dimensions, but through trigonometrical calculations, the measurements such as width, length, etc. can be extracted by measuring the projected line from the source. Even the radius can be calculated from the centerline to the edge of the circle. The same applies to when you are aiming at a target.
Step 3: Degree Calculation
The minute is denoted by a number that helps the shooter know the size of the dispersion of each shot; the size is shown in inches at 100 yards.
To understand this, we will need to take an example out of context. Imagine you are in a circle and within shooting range. You can consider this circle to be the dial of an analog clock. The face of the clock is 12 o’clock, while the target is at zero degrees.
So, if you want to understand how the measurement in degrees is applied here, you just have to imagine wind force coming from directions pointing to 9 o’clock or 3 o’clock.
Both directions make the angle a 90-degree angle from the 12 o’clock position. If these winds come directly to the bullet trajectory, which means the line connected from the muzzle to the target, then they are called 90-degree winds.
Now let us try to understand the 180-degree angle. If the circle arc follows from the 9 o’clock spot to your left, passes through the target, and reached the spot at 3 o’clock on your right, then it is considered to be 180 degrees.
Step 4: Calculating at 100 Yards
In the above example of measurements in a circle, at 100 yards, even one degree that falls along this very circle will always measure to 63 inches. This measurement is too wide for any proper shooting measure. The system for measuring these 63 inches is pretty simple.
We need to look back at our measurement of the circumference of a circle. The formula is “2πr” and “π” or “pi” here amounts to either 22/7 or 3.14. And the “r” stood for radius, and the radius is 100 yards or 3600 inches.
You need to divide this circumference by 360 degrees. That way, you will get a result of 62.8 inches, which is approximately 63 inches. This result is meant for one degree only.
Step 5: Minutes of Angle in Inches
Since we know one minute means 1/60th of a degree, you can easily measure one minute into the one-inch distance on the target that is at 100 yards. The way to calculate it into one inch is by dividing 60 minutes by 63 inches. You will get 1.047 inches per minute.
So, one minute of angle is approximately one inch at 100 yards. If so, then 2 inches would be at 200 yards, 10 inches or 10.47 inches would be at 1000 yards, and so on. Depending on how you shoot and where your target is, that extra 0.47 inches difference may or may not make a difference.
Step 6: POI or Point of Impact
In wide groups, a bullet will easily print on the target because the target distance increases from short ranges to long ranges. Short ranges would likely be from 100 yards to 300 yards, while long ranges would be anything above 1000 yards.
But in a vacuum space, a bullet would travel directly to the target without any obstacles. The obstacle in this scenario would be a gravitational force pulling the bullet downwards.
Another problem that may occur other than gravity issues would be the barrel of the rifle imparting any form of deflection to the bullet as it exits the muzzle. This is also a sort of precision loss because of the rifle’s barrel being worn down or because the loaded ammunition has inconsistencies.
If you make a shot while you are in a completely still position, then any kind of barrel will be able to send projectiles or shoot bullets downrange with the regular baseline precision. This can also be measured in minutes of angle.
This is the reason why shooters nowadays prefer the one minute of angle scope or rifle. The precision or end result of a shot made at a target depends on factors like the wind force, the gravitational force, the skill of the shooter, etc.
Related Guide: How to Zero a Rifle Scope at 100 Yards
Step 7: Measuring Wind
If you want to dial the windage adjustments on your rifle, you need to first determine the strength of the wind or the wind call. This means you have to calculate the average speed of the wind after calculating the different angles the wind is blowing to and blowing from. This is also known as wind value.
There is a range chart you may find online or in any reference books regarding MOA scoping. In this range chart, the calculations of the inches with bullet deflections will be given. You can see how many inches MOA scope takes for a bullet to deflect at any given cartridge and yardage.
The range chart helps you to calculate the speed in the wind much easier and faster. But depending on location, weather, or any other situation that could affect changes in wind, you can make your own range chart if pre-made ones you find do not work for you.
You might need a longer time if you want to make your own since you need to base the chart of your own experience with shooting with wind resistance. This could take days, but once it is done, your own chart will help you much more than a chart made by someone else.
This process of using the information of your own experience with the wind to make a whole new range chart is calling “doping the wind”. Here you are using DOPE or “Data On Previous Engagement”.
Now once you have analyzed the wind and how many inches it takes to push the bullet, you can now convert those inches into minutes of angle or MOA scope. As you can remember, one minute is equal to one inch at 100 yards.
Step 8: Windage Adjustments
When you want to make adjustments on the windage turrets on your rifle’s scope, you can just turn the windage turrets on the right side of your scope. Make sure to turn correctly, depending on whether you want it to go more to the left or more to the right.
The dialing of windage turrets will be in clicks. So, you need to dial to the number of clicks you need depending on the calibration of your scope. The calibration could be meant for 1/8th, 1/4th, ½, or even one-minute increments.
An easier way to turn the windage turrets is by looking through the scope while you are making the adjustments for windage. This way, you can see the reticle inside the scope move left or right when you are turning the dial left or right, respectively.
Step 9: Holding for Windage
Reticles with minutes of angle graduations are available. If you own a scope with a reticle like that, then you are able to hold for windage by using your scope’s hash marks. Hunters tend to do this during their hunting sprees in the real world.
To accomplish this, you need to calculate the wind call and then turn that measurement into minutes of angle. After that, you need to hold that distance by using the reticle graduations and aim right into the wind ignoring wind force completely.
This method is faster than having to make adjustments on your windage turrets or any or turrets that need dialing. Yet, at the same time, you still get to have the same kind of accuracy you get after making adjustments to all the turrets on your scope.
Step 10: Dialing the Reticle to the Point of Impact
When you are taking all that time just to adjust your scope or optics of your rifle arm, you will obviously aim the muzzle into the wind and expect the bullet to travel right through and split the wind when it passes.
But that does not always go as planned. If you really want your bullet to pass through the wind like that, then you will have to dial the reticle to the direction the wind is supposed to take the bullet when it is shot.
And because this is counter-intuitive, dialing the reticle to the left will make the bullet’s point of impact move to the rightwards direction. This means when the wind is coming from the left angle, which is the 9 o’clock 90-degree wind, you need to envision that the bullet might land to the right side of your target.
You need to hold your scope and aim at your target’s core or center. Then you need to adjust your windage turrets to an estimated number of minutes that will make your scope’s reticle move to the right, letting your bullet land to the left as you envisioned.
Step 11: Sub-MOA
There is another important thing you need to understand regarding minutes of angle. It is sub-MOA. The sub-MOA basically means under one minute of angle. This means the measurements fall under 1 MOA.
Putting this measurement in a scenario will help you understand it clearly. If there is a 0.5 minute of an angle, then the bullets would be placed in a half-inch diameter of the 100-yard distance. The same goes for the 200-yard distance ending up with a bullet being placed at 100 yards, or 50 yards having a 25 inches diameter.
Final Words
If you own a rifle and use a scope, it is important to understand how to use an MOA scope. Its use is not only for people who hunt or play shooting games; MOA scope is also great for self-defense.
The MOA helps in accuracy to make sure the bullet falls where you want it to as long as it is within shooting range.
And the other factors that you end up caring about when using minutes of angle is the type of bullet, shooter’s skill, distance, wind force, gravity, etc. This is why rifle owners in the modern-day prefer using MOA during their scoping for shots.