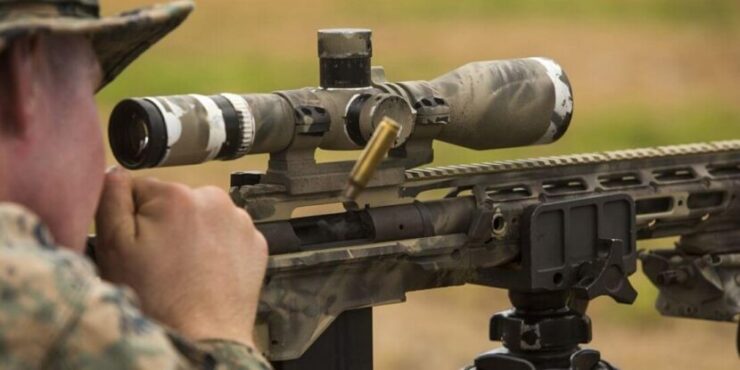
The scope, also known as the sight, is a device or accessory that is mounted on your rifle to help you have better accuracy in aiming, especially for targets that are far away.
This scope does not just stay mounted in a fixed position. It can be adjusted to any position on the rifle as the user wants. Depending on the location, weather, or any other situation, the rifle owner may want to adjust the scope to a new position. That is why you need to know how to adjust a rifle scope up and down. And very important if you want to buy the best scope for 100 yards you should check this guide.
Steps to Adjusting a Rifle Scope Up and Down
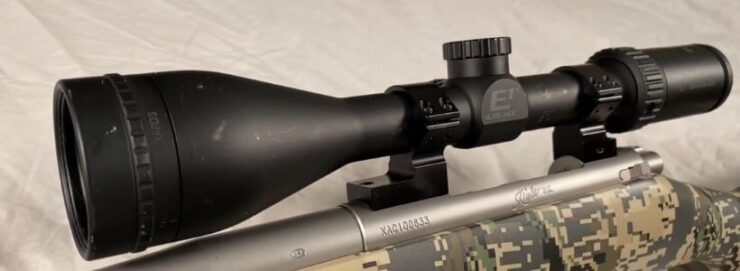
Knowing how to adjust a rifle scope requires you to know about all the parts of the rifle, especially the parts that affect the attachment of the scope on the rifle. There are 2 sets of turrets called elevation adjustment and windage adjustment. You will be depending on these turret adjustments to manage the position of the scope.
The elevation adjustment turret is the turret that deals with adjusting the scope view’s height. This turret is placed on top of the scope. On the other hand, the windage adjustment turret is the turret that deals with the bullet’s horizontal direction. This turret is placed on the scope’s right side.
Now to adjust the position of the scope, you will need to adjust these turrets so that you may accomplish sighting your scope accurately on your target. If you adjust your turret adjustments for a target that is 50 yards away, the same scope position will definitely not help you aim if your target changes to a 200-yard distance.
Each set of adjustments is made specifically for each target’s distance. You will need to readjust it all over again when the distance changes. But for now, we will focus only on the adjustments that affect the scope going up and down.
That is why we will only discuss the elevation turret adjustments of the scope, not the windage turret adjustments. Below we have given some details on a rifle scope’s elevation turret adjustments that will help you know how to move your rifle scope up and down:
Step 1: Check the Turrets
The first thing you need to do before trying to make the adjustments to any of the turrets on your rifle is that you need to see what kind of dials or turrets you have. Depending on the type of turrets on your rifle, there may either be turrets that can be adjusted by your bare hands or turrets that need tools for adjustments to be made.
If you have the simple turrets that do not need tools, then you can begin with the adjustments with your hands. But if you do have the complex turrets that need tools, then you need to collect those tools.
There will be indentations on the turrets where you are supposed to use a tool to fit it in and make the turns. Some people use coins as a cheap trick to get the job done, but it is wiser to have the proper tools to make the adjustments.
Step 2: Elevation Turret Knowledge
We now know that the elevation turret is placed on the top of the scope. You can turn this downwards to make the lens turn lower and shift the reticle lower as well. Vice versa will happen when you turn the elevation turret upwards. When it is turned upwards, the lens loosens up and makes the focus of the lens also go upwards.
This process is known as “Zeroing” of the rifle scope. It is done so that you can change the elevation when shooting a target whose distance has changed from the original distance.
The elevation turrets basically help make adjustments to the scope’s vertical directions in aiming. It helps let you measure the vertical angle you will be shooting your bullet at.
Step 3: Zeroing Done with Elevation Turrets
Zeroing a scope means that you are making sure the POA or point of aim on the target matches the POI or point of impact of the bullet struck at the target. Zeroing is necessary every time you mount a scope, especially if you change your scope to a new one.
As you know, when bullets leave the barrel of your rifle, they fall immediately. For this reason, we tend to aim a bit higher to compensate for the gravity pulling your bullet downwards.
You may think bullets travel in a straight line, but that’s not quite true. They travel in an arc-like position. You aim a bit upwards than where your target is, but due to gravity being the stronger force here, the bullet will fall or lose its elevation gradually and eventually hit your target when it travels the distance and reaches the target.
So, when the point of impact of the bullet is higher or lower than the point of aim of your target, then you need to adjust the elevation on your scope so that they match. You need to do this every time the target shifts its position.
Step 4: Turning the Elevation Turrets
Now that you understand how the elevation turret affects the scope, all that is left for you to know is how to adjust the elevation turret to make the scope adjust to match the right point of aim and point of impact.
Whether your elevation turrets are supposed to be turned by hand or by a tool, the rules are still the same. To turn the elevation turret downwards, the turret must be rotated or turned clockwise. And to turn the elevation turret upwards, the turret must be rotated or turned counterclockwise. This goes for most common rifles’ turrets.
On top of the scope, where the elevation turret adjustments are located, you will find some marked indicators. The letters ‘U’ and ‘D’ will be visible. They stand for ‘Up’ and ‘Down’, respectively. So, according to these indicators, you can make your adjustments.
Step 5: Different Elevation Turrets
If your turrets have caps, then you will need to remove the caps to make the turns. After you are done working on the turrets, make sure you put the caps back on.
There are some turrets that are completely exposed. These turrets offer the most advantages because you can make the rotations by your hand while you are in your shooter’s position. You can peep through the scope and make the adjustments at the same time.
Step 6: Elevation Turret Tips
By any chance, if you notice your reticle moving downwards when you are trying to turn it to go upwards, it does not mean you broke your scope.
It just means your reticle is going down as a first step before it can restart its path on the way up inside the scope. And because of this, the orientation of the barrel changes and forces the bullet’s point of impact to be higher.
Step 7: Parallax Adjustments
Even after your adjustments on the elevation are not completely accurate, you can use the parallax adjustments to correct those errors and fix the point of impact with the point of aim.
The parallax adjustments are not available on all types of rifle scope turrets. Most modern rifles have this feature. If you do have a rifle that is a new model, then check and see if you have the parallax adjustments. And if you do, then you can use them to make corrections on your other turret adjustments.
Also, the adjustments that are made by the parallax work only on the focal planes. The image of the target and the reticle need to be on different focal planes for the parallax adjustments to work. The reticle’s crosshairs will visibly move when you are looking into the scope and making the adjustments.
Final Words
Making adjustments on the rifle scope may sound hard. But once you get used to it, doing it every day you go out to shoot won’t seem much of a hassle anymore.
So far, we have discussed the ways to manage to make adjustments on the elevation turrets on your scope. Because of this, you can now move your rifle scope upwards and downwards to fixate your scope view on your target.