Nobody wants to use a carbon filled filthy suppressor. Over time, due to firing bullets, the suppressor starts to collect a lot of carbon. It hampers the baffles in suppressors, as well as your performance. There are plenty of ways by which you can clean this object by yourself.
Starting with simple soap and water to high tech ultrasonic, all come in handy while cleaning this. This article will be a guide for you to make your suppressors brand new to get the best performance. Here we will focus particularly on cleaning suppressor with ultrasonic to help you get your best shooting experience.
What Is a Suppressor?
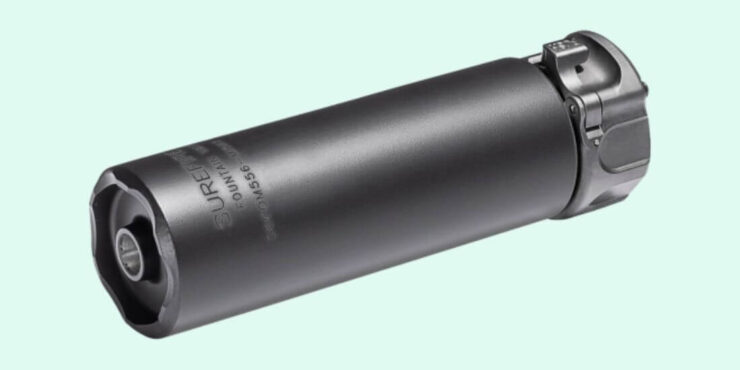
Suppressors are tube-like metallic cylinders that are mounted on or an integral part of the weapon itself. Commonly they are called silencers. They are made of aluminum, stainless steel, or titanium. They have chambers within the tube that enables it to expand the propellant gases.
By cooling down the gases, they reduce the muzzle blast and sound. Inside of the suppressor, there are baffles. These are circular dividers that allow the expansion of gases. They have a hole inside of these circles to allow the passage of the bullet.
These are mostly made of alloy, aluminum, steel, or titanium. While cleaning a suppressor, the baffles are the targeted ones that need maximum cleaning.
Ultrasonic Cleaning
Ultrasonic cleaning uses high-frequency sounds (20-40 kHz) to clean objects by producing simmers in water or the containing fluid. They look like metallic boxes in which the desired surfactant is used to clean an object.
Mostly water is used, but if surfactants are added, the cleaning is enhanced. Watch, surgical instruments, electrical devices, jewelry, firearms everything can be cleaned by this.
How Does Ultrasonic Cleaning Work?
Ultrasonic cleaning uses high-frequency sound waves to induce cavitation bubbles that clean objects. These cavitation bubbles are high-pressure waves that result in shock waves when it comes in contact with objects.
With these shock waves, the fluid within the boxes is agitated. This fluid then produces high pressure on the clogged up dirt and cleans them.
Why Suppressors Need Cleaning?
Firearm ammos create a mess after every shot. Once the bullet fires through the suppressor, they leave behind carbon and lead particles. These carbons build up over time and become as hard as concrete.
Due to excessive buildup, it hampers the efficacy of the multi-cal suppressor. Its purpose is lost. As a result, noise reduction is not possible.
So suppressors should be cleaned after at least a thousand rounds are fired. But rimfire suppressors need cleaning way earlier than others. After every 350 rounds, they need cleaning as it gets all clogged up.
Cleaning Suppressor with Ultrasonic
Here, we’ll walk you through the entire process step-by-step.
Check with the Manufacturer First about the Ultrasonic Cleaning
The suppressor needs to be made of stainless steel or titanium as most aluminum suppressor cannot outstand the ultrasonic cleaning. Confirm with the manufacturer if your suppressor is capable of ultrasonic cleaning. A lot of finished suppressors have patching after the cleaning process.
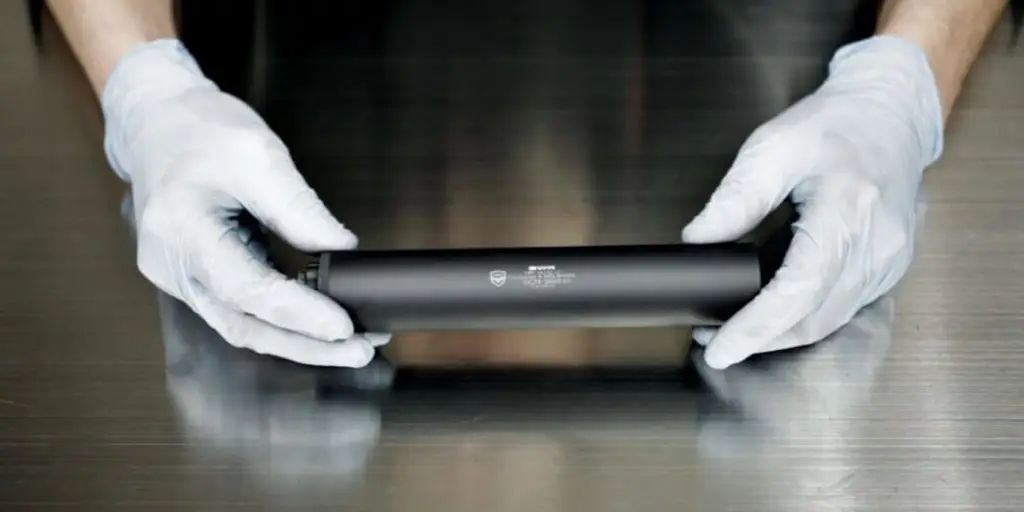
Ensure Your Safety First
Make sure to work in a well-ventilated room, wear gloves and goggles. Because the carbon buildup within baffles is toxic to health.
Dismantle the Suppressor
In order to clean the suppressor, it has to be dismantled first. These are easy to open and does not require a lot of work.
Use a Solvent for Cleaning
Firearm cleaning solvents can be used. Also, green and purple powder comes in handy for cleaning the baffles. Soapy water, acetone or paint thinner can also be used if you clean your suppressor regularly.
Some studies show that lead buildup within silencer is hard to get rid of. Using vinegar solves this problem. Turn on the ultrasonic cleaner, put in your desired solvent and water, and wait for a few minutes to heat the water up. Do not put baffles in high-temperature water.
Start Cleaning
Put in your disassembled suppressor and wait for 15-20 minutes. Take out each one of them and check every piece if they are cleaned or not. Look at the threads, O-ring, tube, and baffles for any carbon buildup.
Give It a Rewash
If there is still enough carbon within the baffles, soak it in the cleaner for another 15 minutes or so. Use a brush or wet cloth to clean every single piece thoroughly.
Assemble the Parts
Assemble them carefully with the help of a manual if needed, and they are ready to use. As for sealed suppressors, cleaning should be done according to the provided manual. They cannot be dismantled; therefore, cleaning them is not easy. They usually mention the solvent to be used. So it is better to follow the rules.
Conclusion
Manually cleaning a suppressor requires a lot more effort and time. Cleaning with ultrasonic cleaner saves time and energy and cleans them perfectly. This method is getting more popular now.
If your suppressors are not made of aluminum or have no contradiction, then cleaning this way is obviously a solution. We hope this article is resourceful to the users.