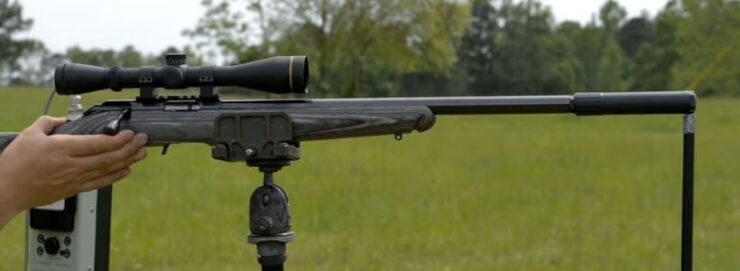
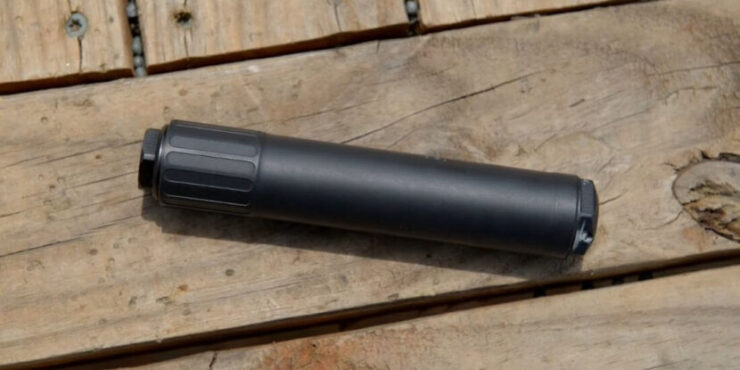
A huge number of people steer clear from using silencers on their 22 because they find the installation too daunting. In reality, putting a 22 silencer on your firearm is actually a very simple process. We are here to walk you through everything you need to know for a proper installation on a 22.
The first thing you need to know is that the best installation manual is the one that comes with the silencer itself. If that fails to cater to your needs, then keep reading for in-depth instructions on how to put a silencer on a 22 firearm.
Why Is Proper Silencer Attachment Crucial?
A misaligned or improperly attached silencer will cost you the longevity of the silencer or even the gun itself. If the silencer is not properly attached, then chances are that the bullets are going to hit the internal walls of the baffle. This is going to cause irreversible damage to both your silencer and your gun.
And a careless attachment can be a huge liability. Other than the inevitable damage of your equipment, the risks also include misfire or even lethal explosions. But don’t let that scare you, Here is everything you should know about safely putting silencers on a 22.
Which Silencers Are Compatible to Your .22?

For threaded attachments, compatibility depends on the thread pitch. The thread pitch is mentioned on the piston of your silencer that attaches to the firearm. Usually, the threading on an ideal .22 silencer is ½x28.
But what if your silencer isn’t threaded? Does that mean it’s not compatible? No, not necessarily. Today manufacturers offer a variety of options for both threaded and non-threaded silencers. We have compiled all the information you need to know, along with detailed instructions on how to attach the silencer on your 22.
Keep in mind that silencer attachment can seem like a daunting task, but by following these instructions carefully, you should face no problem in going silent.
Threaded Attachments
Take a look at the barrel on your gun. Is it a threaded barrel? Most often, it’s not. In such cases, we recommend going for a threaded barrel extension. And if you’re not up for extensions, then consider replacing the entire barrel to a threaded one. The replacement is just a drop-in type replacement, so you won’t need to stress on that.
Steps to Attach Threaded Silencer
Here’s the step-by-step process for you.
If you notice that your alignment rod is touching the sides, then disassemble and screw it on again carefully. This should give you a well-fit silencer to shoot with.
Non-Threaded Attachments
Many popular .22 firearms today don’t have any threading on them. A lot of shooters don’t like the replacement of their barrel or taking them to the gunsmith for threading as well. For them, the easiest solution is to go for non-threaded .22 silencers.
The installment instructions for non-threaded attachments are almost the same as threaded ones with a little variation only. Let’s talk about how to make these silencers up and running for shooting.
Steps to Attach Non-Threaded Silencers
Let’s walk you through the entire process.
Remember that you are working with adhesives here, so a careful assembly of the silencer is crucial. In other words, if you attach it wrong, you might not even get a second chance. This is why you should check the alignment prior to gluing. If you’ve followed these steps, then your .22 silencer is ready for shooting.
Attach Your 22 Silencers by Yourself Today!
Silencer attachment may sound like a very intimidating task, but all it takes it is a little bit of focus and patience. By following these steps, you can safely install silencers on your 22. Lastly, remember to always read the installment manual that comes with your silencer for a better understanding. Happy shooting!

