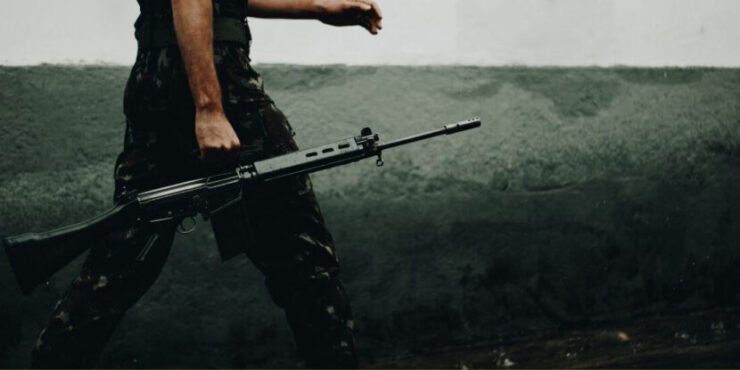
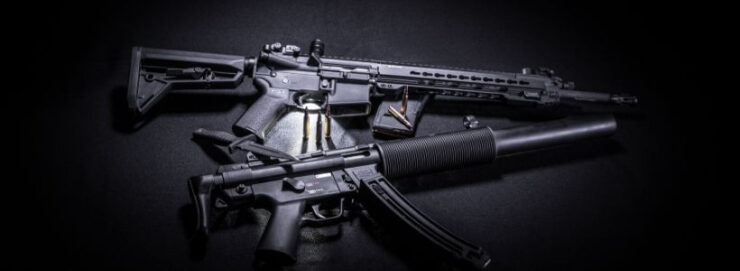
The popularity of guns amongst civilians has been increasing in recent times for various purposes ranging from hunting to personal protection.
However, most of these firearms come with an exorbitant price tag. Paying such a hefty price, one would be expected to take all the measures necessary to ensure the durability of the gun.
One of the ways of doing this is cerakoting. Cerakote is a coating applied to the surface of a gun to make it resistant to scratching and abrasions. Learning how to cerakote can save you from having to incur additional costs.
We hope the points listed below will clarify the process of applying a Cerakote finish to your gun in order to ensure its longevity.
Things to Remember
Here is something you need to keep in mind.
Getting the Right Formula
Before you begin working on the gun, it is important to know that there are two formulas of Cerakote: air-cured and oven-cured.
As the name suggests, oven-cured formulas require you to bake the components of your gun in a curing oven. On the other hand, the air-cured formula does not require an oven and is cured in the air.
That said, air-cured formulas are better suited to the high-temperature parts of your gun, such as the barrel. The oven-cure formulas will work better if applied to parts such as the frame and slide. So, before choosing the right formula, consider which parts of the gun you’ll be working on.
Having Ample Space to Hang Components
At various stages of the coating process, you will be required to hang your gun components to allow them to air dry. We advise you to set up space with hangers prior to the process, which will make it easier for you to seamlessly transition between different stages of the coating process.
Wearing Protective Equipment
Cerakoting is a process that involves the use of highly reactive chemicals such as acetone. Accordingly, you must take safety precautions before starting. This means getting yourself the proper protective gear.
Latex gloves are a must as they will not react with the chemicals used to clean or coat the gun components. Avoid buying powdered gloves as they will contaminate the coating.
In addition, safety glasses and face masks are vital when it comes to using an airbrush. The suspended chemicals in the air can easily get into your eyes or nostrils and cause irritation, leading to other health problems.
Preparation Phase
Below, we’ll detail the preparation phase.
Disassembling the Firearm
To begin the process, you will need to disassemble your firearm in order to be able to coat each separate component with the Cerakote color. We strongly advise you to get zip-lock bags to separate each component of your firearm. This will allow you to keep the parts organized.
De-Contaminating the Components
Once you’ve broken down your firearm, the next step is to clean each part thoroughly. It is important to remove grease, oil, or any other contaminants that may be present on the surface of the gun components. Carelessly skimming through this step can prove costly once you have the finished product, so be very patient.
Coming to the question of which cleaning agent should be used, any degreaser would be suitable for this purpose. Alternatively, you could also use brake cleaner, which is a more economical option.
One thing to remember is that the degreaser must be solvent-based as they evaporate off. Should you opt for oil or water-based cleaners, you will end up contaminating the surfaces rather than cleaning them.
Preparing Acetone Bath
Next, all the components need to be submerged in acetone for 15 minutes. Once all the parts have been soaked for the appointed time, let them dry in air for approximately 10 minutes. You don’t want to be putting wet acetone parts in a hot oven unless you want a big disaster.
The dry parts now need to be baked in an oven at 200 degrees for 30 minutes in order to leech out all the last bits of oils and acetone that you might have missed.
Please note, if any part still appears wet once taken out of the oven, this is a sign of contamination, and those parts need to be soaked in acetone once again. You will have to bake these parts again until they are all dry.
One common mistake is to use a plastic bucket to hold the acetone. This is a terrible idea because the acetone will eat through plastic. Instead, use a metal bucket to hold the acetone.
Sandblasting
Sandblasting is a process of cleaning a surface by forcing solid micro-particles across it at high speeds.
This process can be expensive as you would need to invest in Aluminum Oxide and a sandblaster.
Alternatively, you can visit your local shop and have the parts sandblasted with Aluminum Oxide for less than half the cost. The only drawback being, the one day waiting period the shop will make you go through.
Cerakoting: The Actual Process
Now that you have patiently made it through the preparatory steps, it is finally time to get to coloring! The keys to applying a successful cerakote coating are lots of time, patience, and a steady pair of hands, especially as airbrushing the components requires you to be very careful.
Once you’ve mixed the coloring liquid and prepared your airbrush, begin making your way through each component. Each coating needs to be consistent, so don’t spray too much in one area, unless you prefer dripping patterns on your gun, of course.
After applying all coatings, dry the components based on their coating formulas. All parts with coated in oven-cured formulas are to be dried in an oven, while the air-cured coated components are to be naturally dried in air.
Conclusion
While it’s true that learning how to cerakote can be quite an adventurous task, getting professional help will guarantee perfection.
Provided that you follow the steps mentioned above with attention to detail, you should have a good coating to your gun. It is ultimately up to you and your preferences, which will decide whether you seek professional help or not.